Infrared Photography
I would like to show you my way of editing infrared photographs using Photoshop CC and the NIK plugins Viveza 2 and Silver Efex Pro 2. I started about 10 years ago with infrared photography using a Fuji S3 Pro body and two Nikon lenses. Having not been satisfied with the endless exposure times, I bought a used Nikon D70 having taken lots of infrared photographs over some years. In 2013 I decided to buy a new Nikon D90 body and had it converted to 720 nm.
My newer infrared photographs are all taken with the Nikon D90 converted to 720nm by Optik-Makario, Germany. At the moment, I am using a 18-70mm and an 18-200mm lens by Nikon. I have used other lenses such as a 50mm, 105mm and even a 85mm Petzval lens too. Using anything other than the 18-70 and 18-200mm lenses make things a bit more complicated because I have to use the camera's liveview.
Now let's talk about how I edit an Infrared photograph...
Below is the original photograph from my camera using a custom white-balance on green grass:
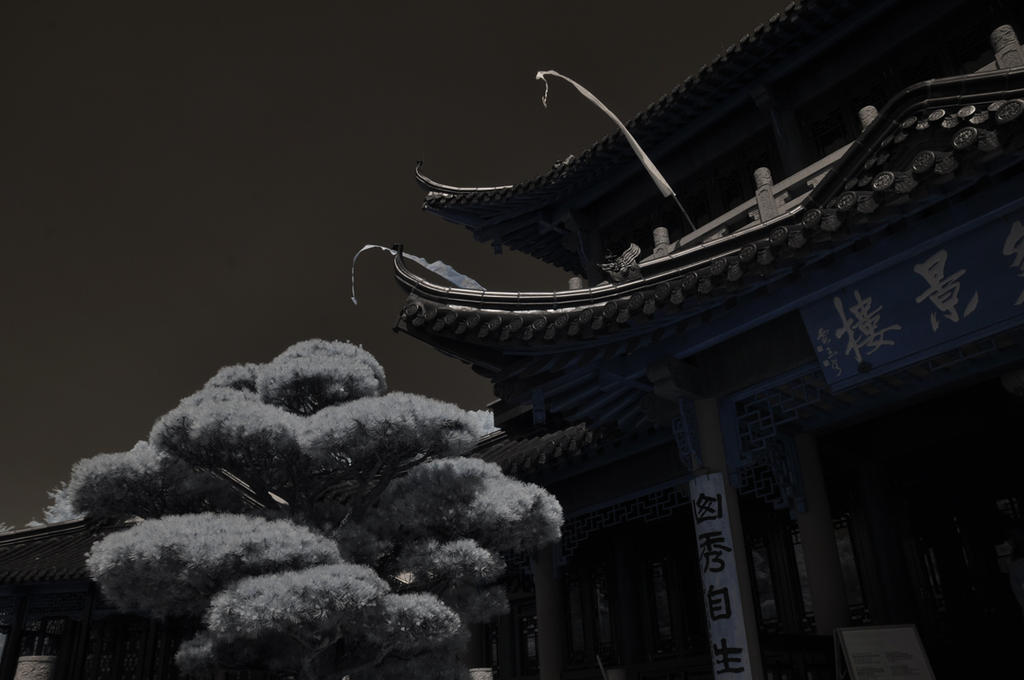
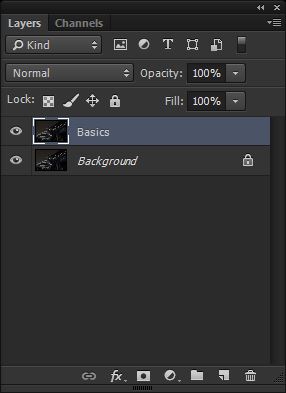
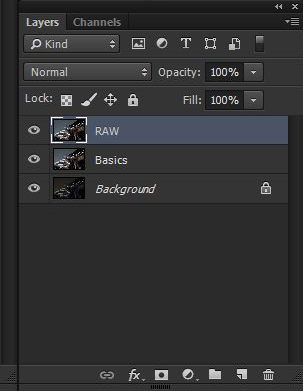
As you can see, it doesn't look very appealing. Usually I would duplicate the background layer and rename it. In the below example I called it Basics:
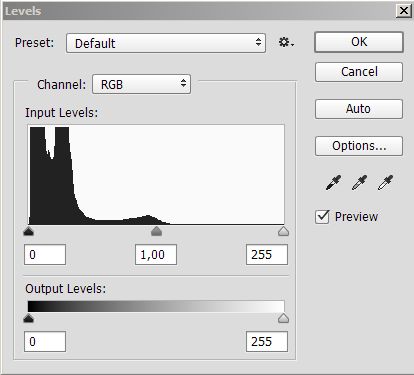
My first step to editing this new layer is to adjust the levels:
Usually I play with Auto Tone and Auto Color but in this case, adjusting the Levels worked better. In many cases Auto Tone and Auto Color tend to over-expose photographs.
Here I used the function Auto making some fine adjustments afterwards:
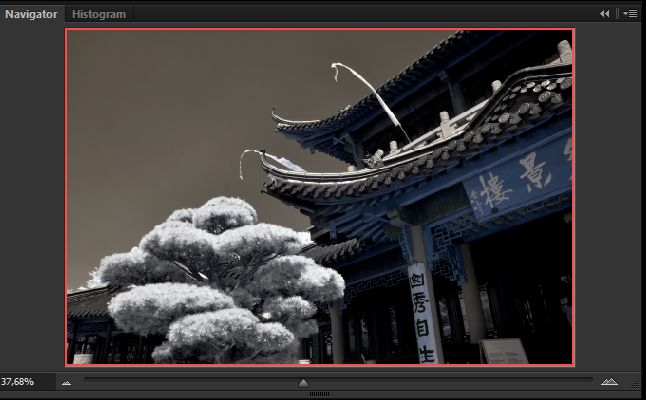
Here's the result of the basic operation (Levels):
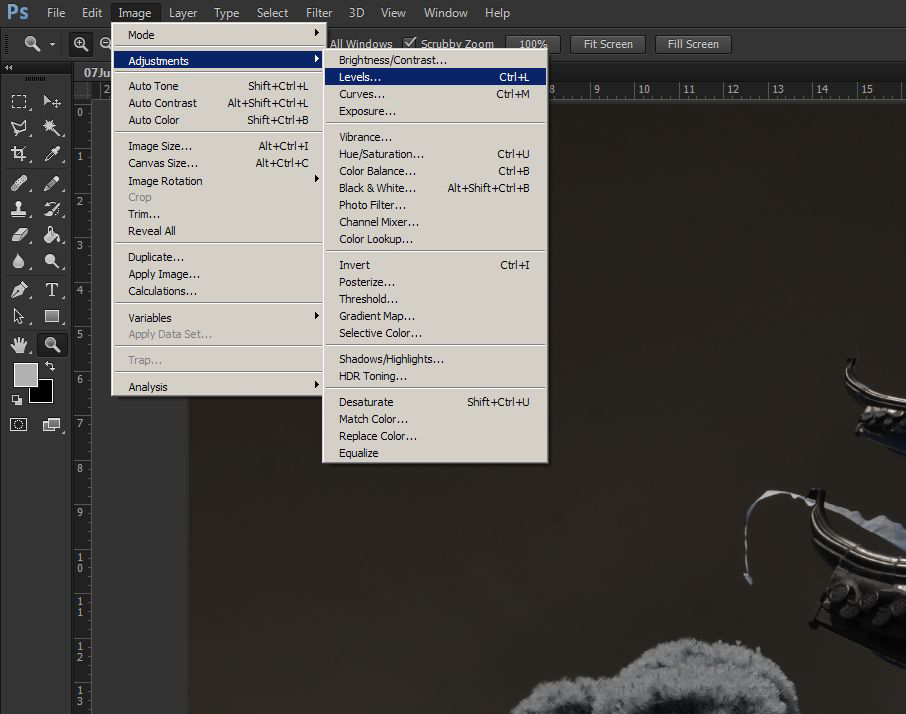
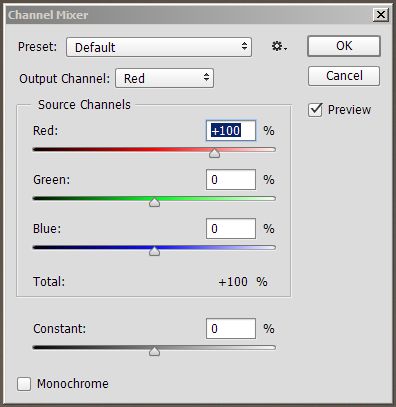
The next step is usually swapping the color channels (Red and Blue) by using the Channel Mixer. You can find this under File/Adjustments/Channel Mixer:
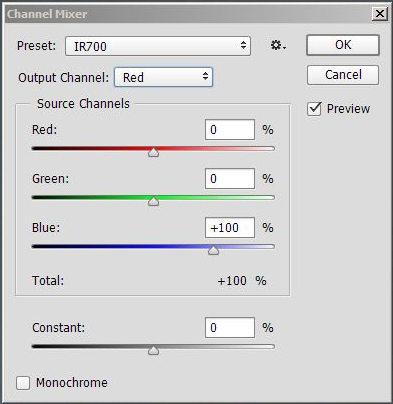
I set the value of Red (Output Channel: Red) from +100 to 0 and the value of Blue from 0 to +100:
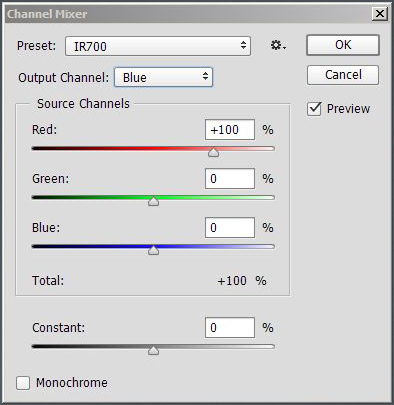
Next step is to set the value of Red (Output Channel: Blue) from 0 to +100 and the value of Blue from +100 to 0:
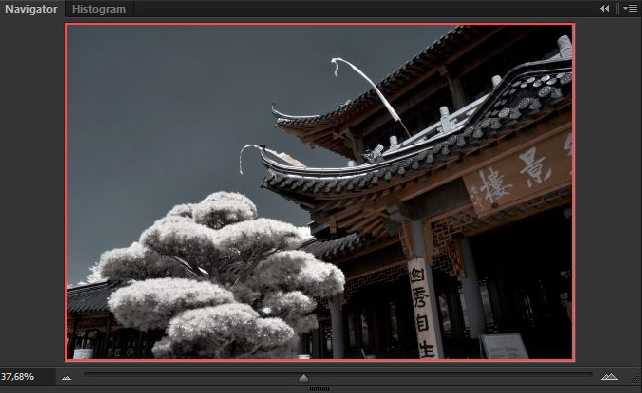
Below are the results of swapping the blue and red channel...
To save time (I'm a lazy guy) I made a preset called IR700... Note: I am not always swapping channels. For instance when editing infrared portraits I am experimenting with my adjustments. It's possible to do this step later aswell.
After the first and basic steps of editing I always create a new layer called RAW by duplicating the Basics layer and renaming it:
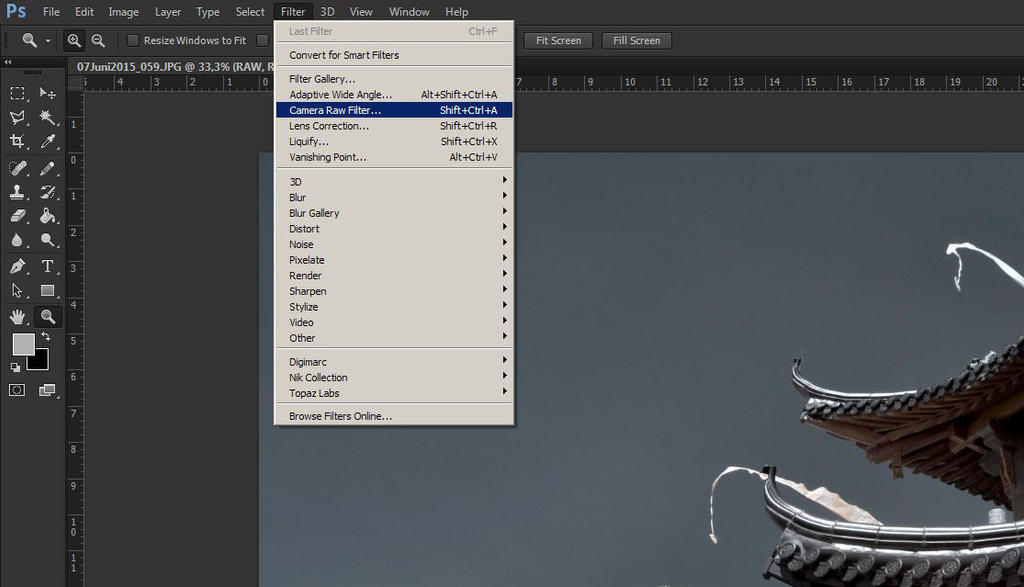
The Camera Raw Filter is a very powerful editor for all kind of photographs even if you do not take your photos in RAW:
This is how the Camera Raw Filter opens:
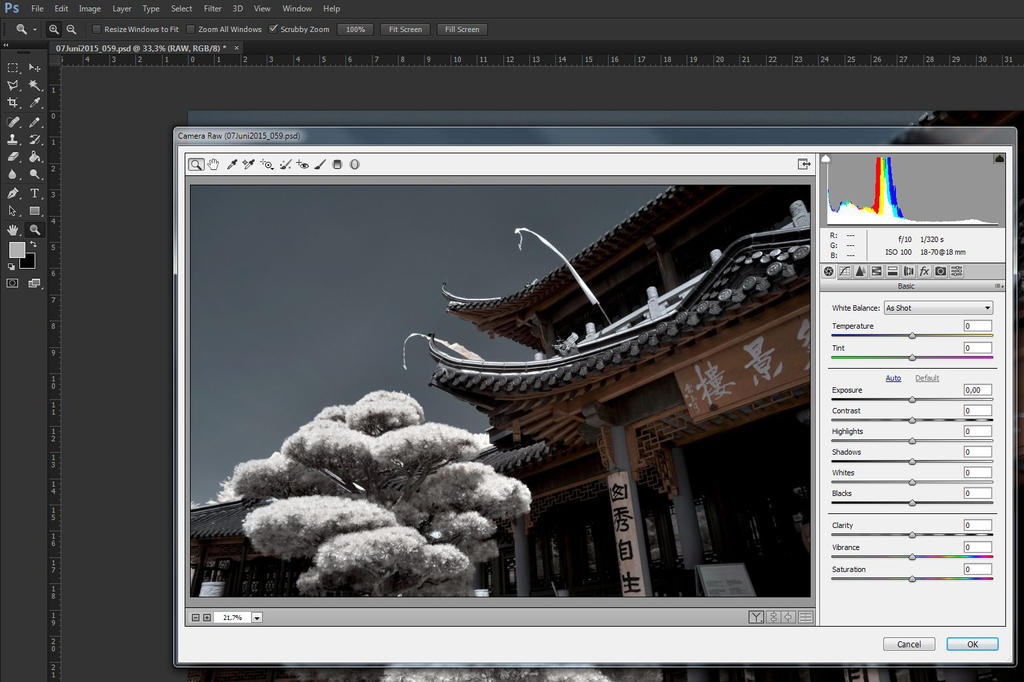
You've got a lot of possibilities in editing with Camera RAW. I adjusted the Contrast, Highlights, Clarity and Vibrance! Be careful with the Clarity as it can cause quite bad noise in the sky.
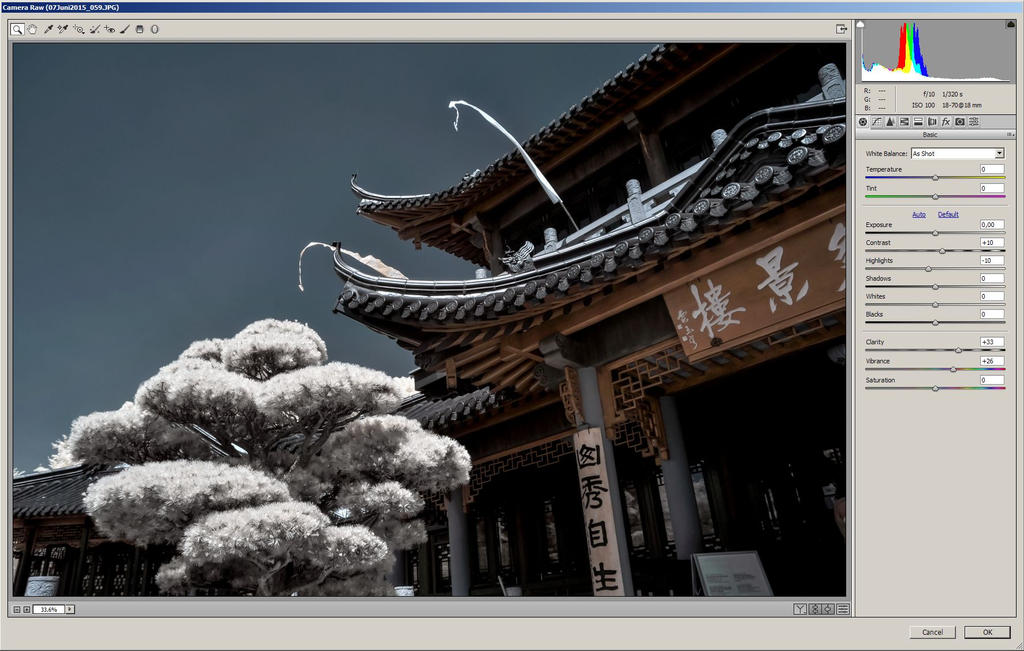
IR fotos tend to be noisy... To reduce/minimize this noise I am using the Noise Reduction function in Camera Raw:
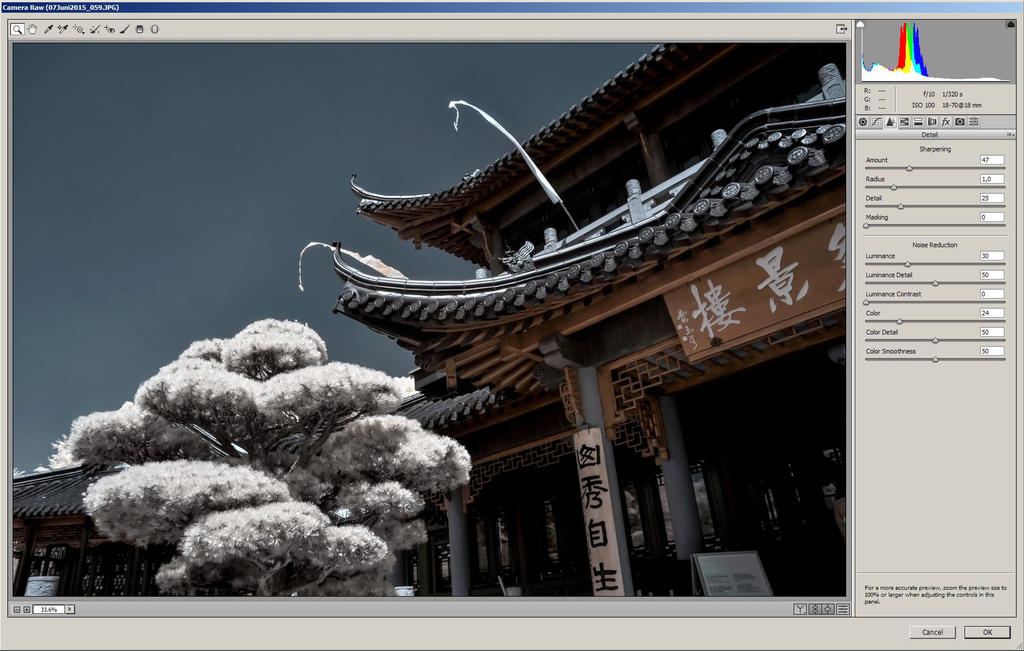
As you can see it's great for sharpening and in my opinion lots better than the sharpening filters provided by Photoshop! Now you can do some more editing on a photo by using Hue/Saturation, and you can add a frame etc. I recommend creating a new layer for every new step or using the Adjustment Layer function because it is non-destructive. You can also use the Smart Object function of Photoshop on all filters as Sharpen or Blur. Using Smart Objects You are able to change your settings if you are not satisfied even after having resized a photo!
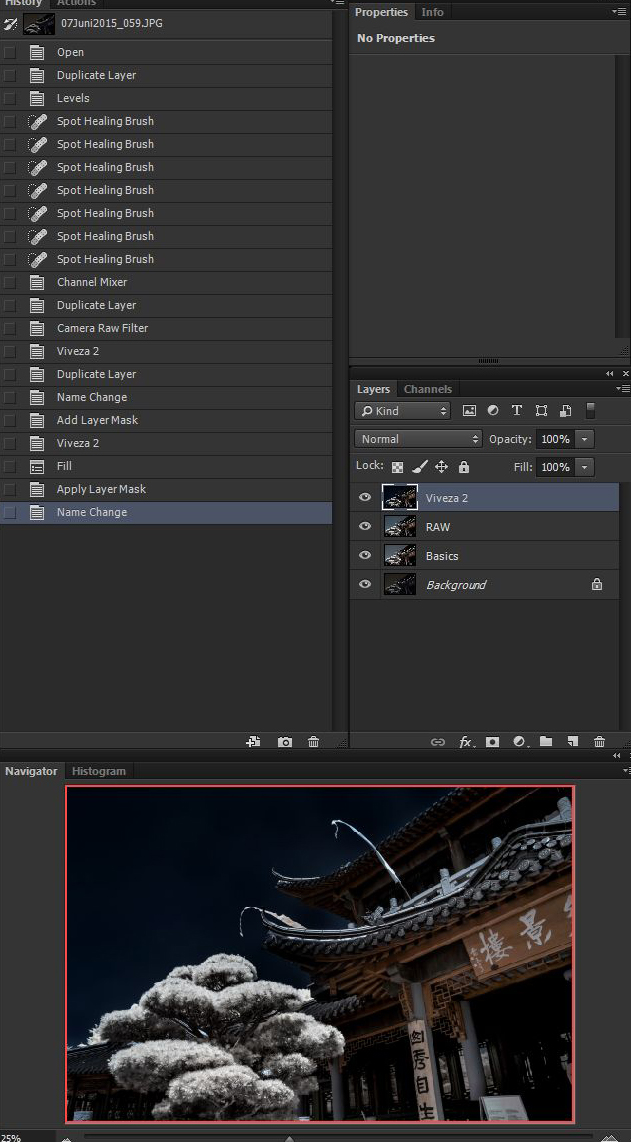
After the last step using the Camera RAW I usually continue my editing with the NIK Collection (No, I am not paid to say this!) In this case I decided to make some more edits with Viveza 2:
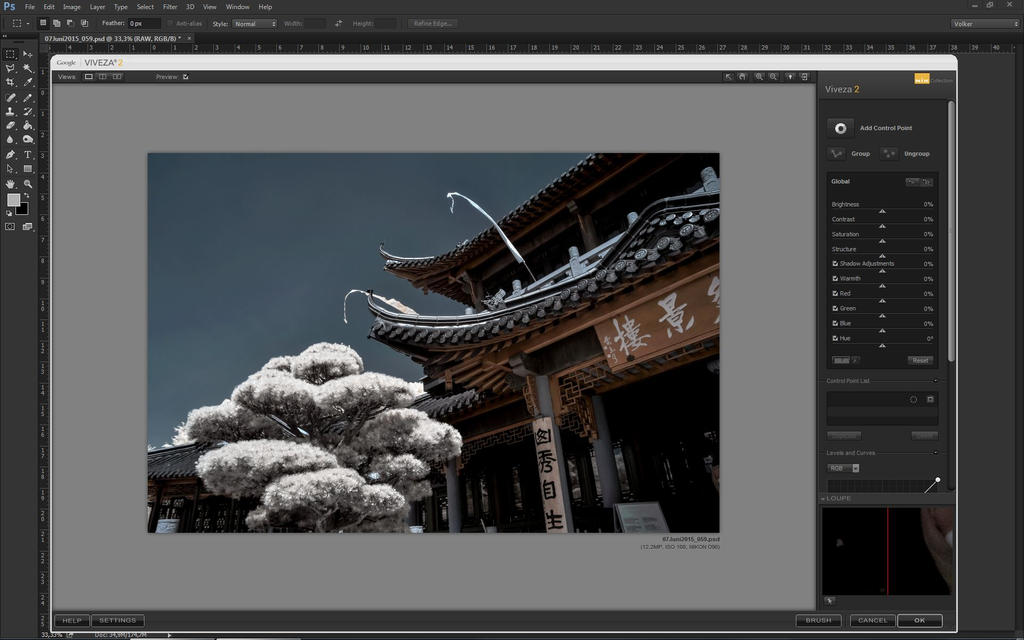
The Viveza plugin is a real powerful tool with the standard editing options such as Brightness, Contrast, Saturation etc.
The great advantage of this tool is the possibility to add so called "Control Points" providing the same features as Viveza.
Adding a Control Point means you can vary the diameter of its effect meaning you have the possibility to edit Brightness, Contrast, Saturation etc. within this Control Point. I did some basic settings within Viveza adding some of these points to cause dramatic changes on my photo:
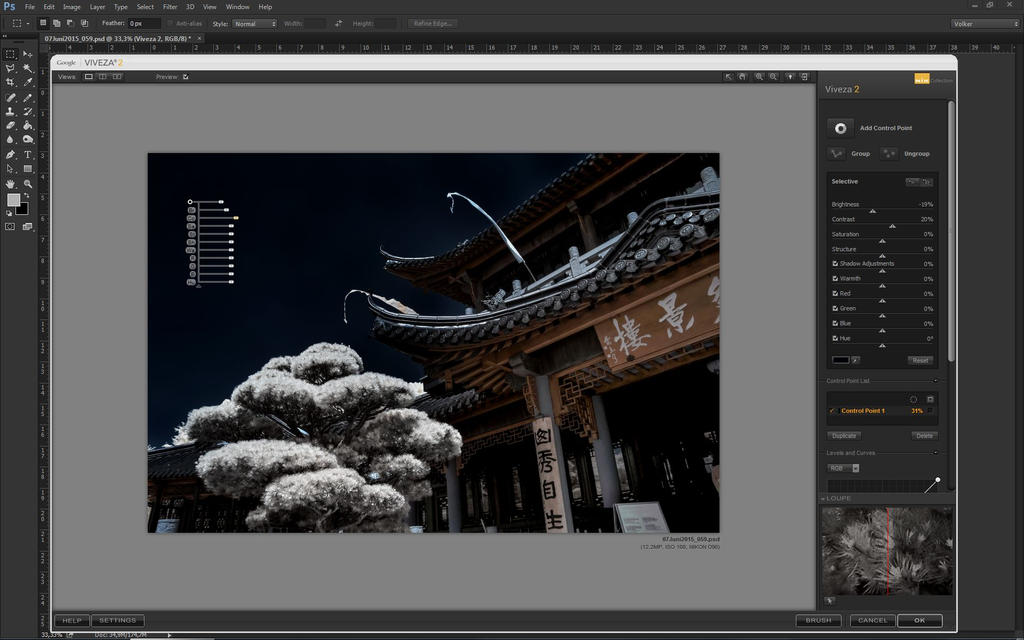
In the above screenshot You can see an example of a Control Point. Viveza creates its own, new layer:
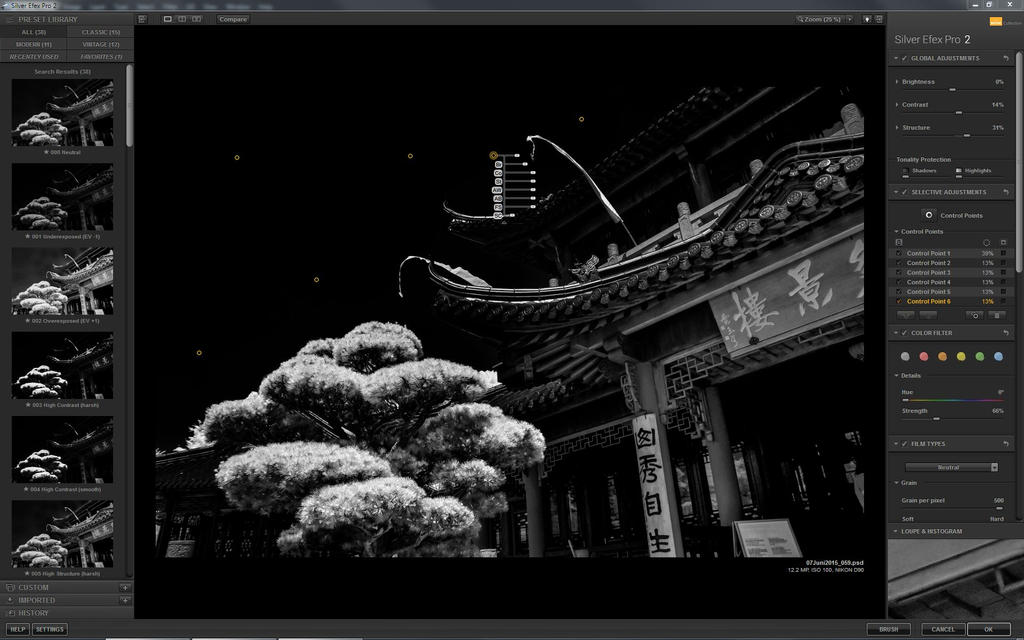
After finishing my edits within Viveza I usually create a new layer in B/W using another plugin called Silver Efex Pro 2. First I have a b/w-/toned photograph. In the the second place I get an extra layer for my way of editing infrared photographs:
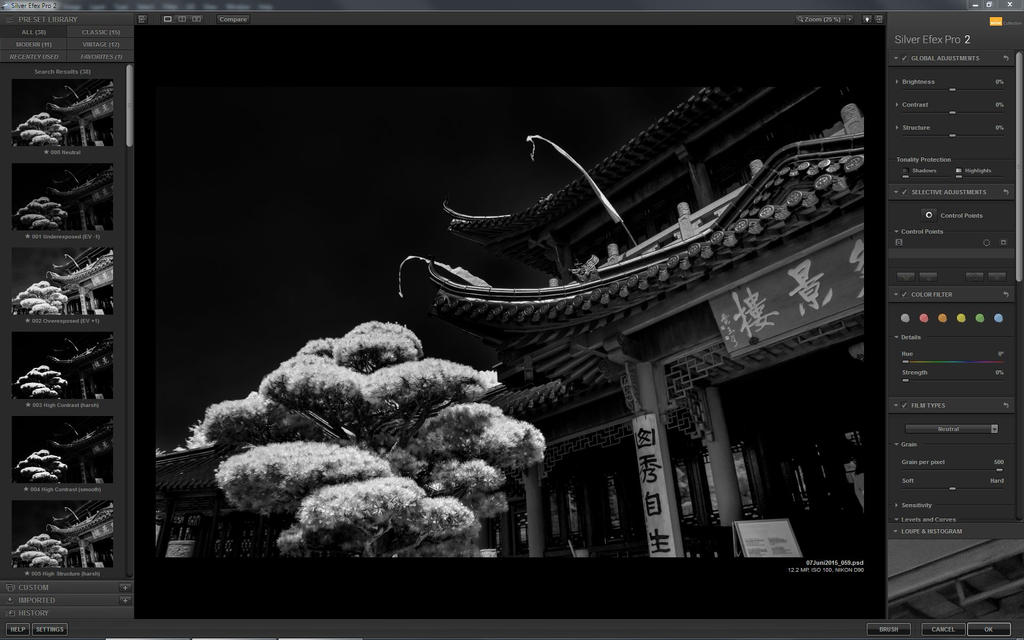
My first adjustments are adding some Contrast, Structure and the red Color Filter. Silver Efex provides the great Control Points as Vivieza does too. Here you can see my settings and some Control Points to darken the sky:
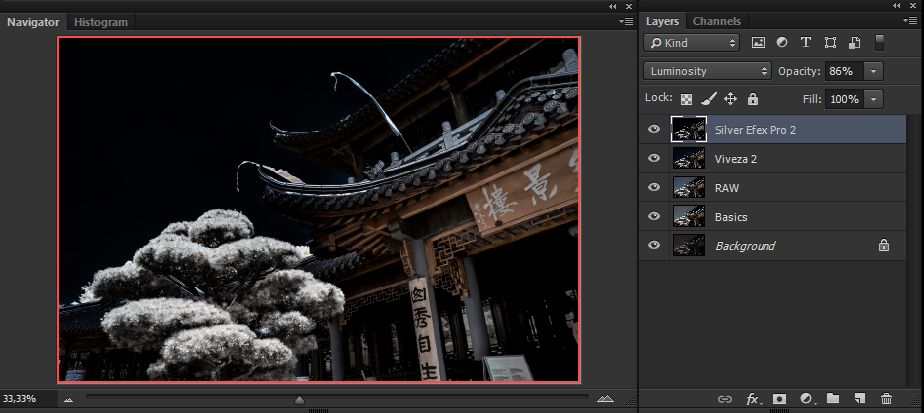
The following screenshot shows the result and a new layer created by Silver Efex:

In the next step I changed the layer's Blending Mode from Normal to Luminosity with an Opacity of 86%:
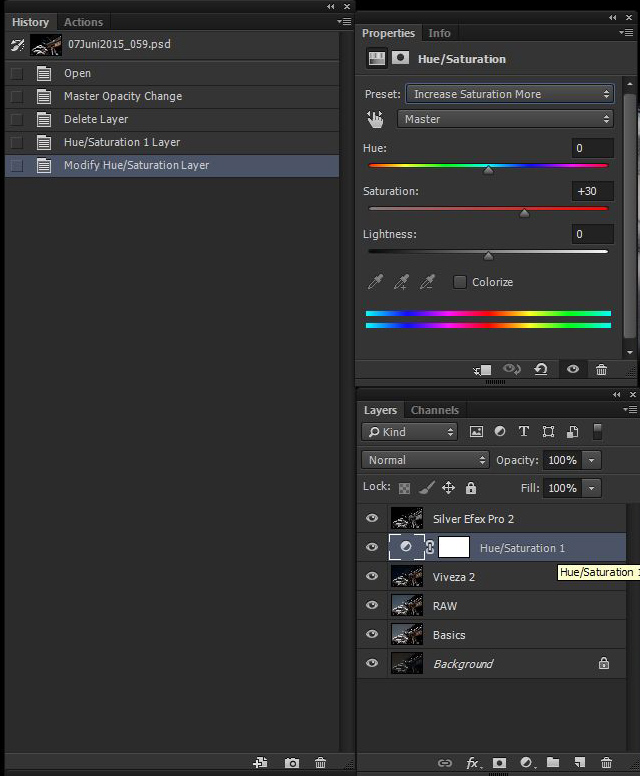
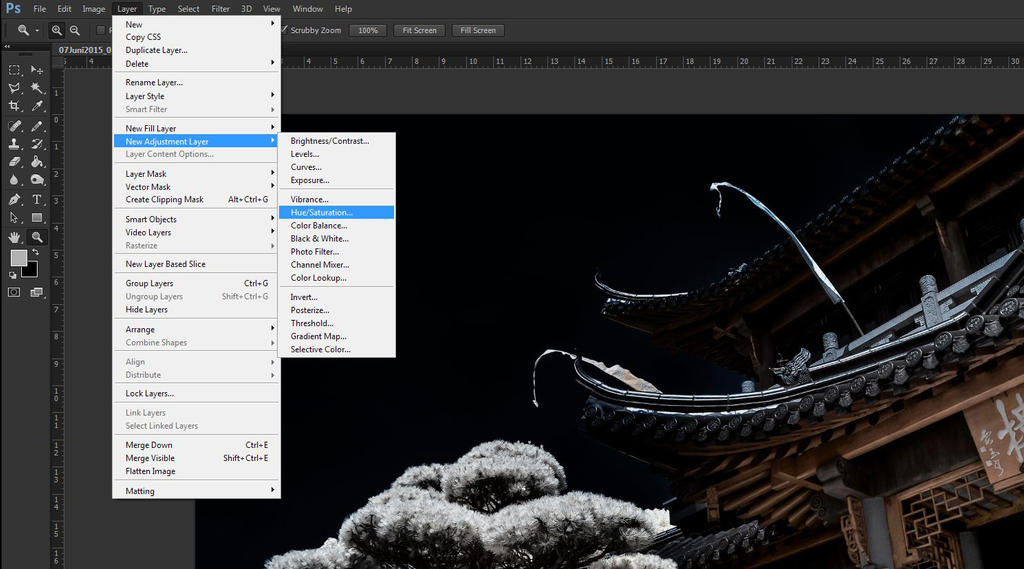
In the following step I added a new Adjustment Layer above the Viveza layer and then changed Hue/Saturation of the Viveza layer increasing the saturation (Layer/New Adjustment Layer/Hue/Saturation):
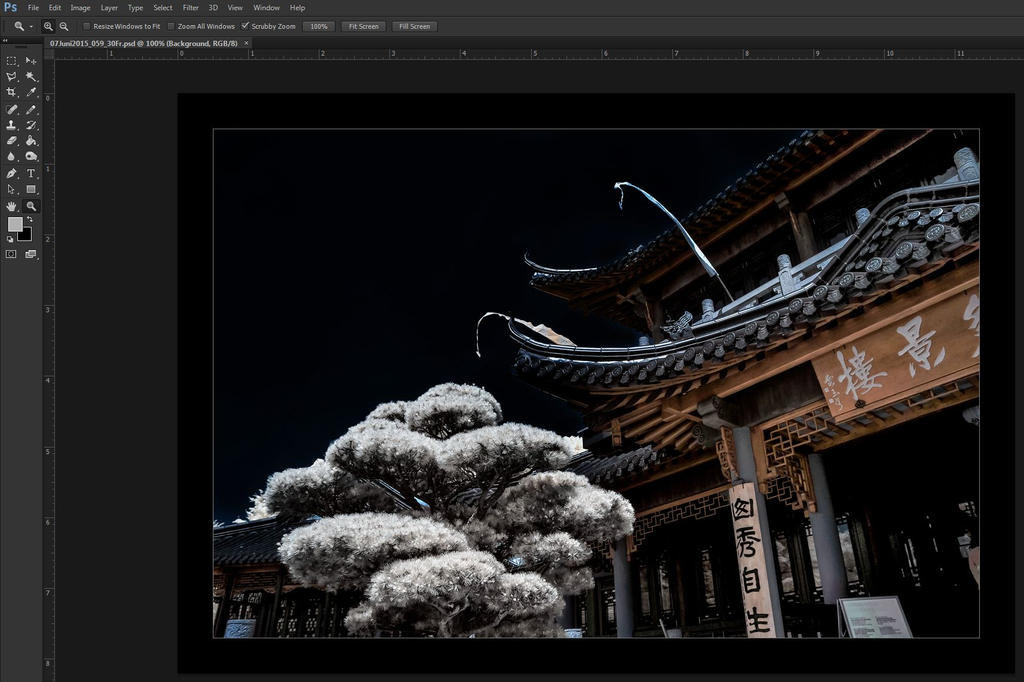
After adding a border, my photo looks like this:
Thank you very much for the patience and time taken to read this article. I hope some of you were able to learn a little bit. Any questions?
Dedicated2V
